
If you are a blogger and are worried because your website isn’t getting traffic, I have a secret solution for you. With this, nothing can stop you from driving traffic to your blog, and you won’t need to rely on traditional keyword research or wait weeks for Google rankings.
I am sharing this about my blog because, recently, one of my posts suddenly went viral, bringing over 100,000 free users to my site in less than 48 hours! And all of this was made possible thanks to the power of the Google Discover feed.
New bloggers often feel that getting featured in ‘Discover’ is merely a game of luck. However, that is not the case; following the latest core updates released by Google, it has become entirely a matter of advanced strategy and the right settings.
Today, we will discuss this, and I will share live proof with you, along with the secret settings that I use—and that you can use too—to master Google Discover SEO.
यह भी पढ़े – What is Keyword Search Volume? Find Search Volume for Free (2026)
What is Google Discover Feed?
People often wonder what the Google Discover feed is. Let me explain: the Google Discover feed is an advanced feature of Google Search that automatically displays content to users based on their interests. It appears on Google Chrome; when you open the browser and scroll down, the story-like content you see is the Google Discover feed.
This typically appears when people type keywords into Google Search; based on your activity and by tracking your preferences, Google presents the best articles to you.
It is generally available as the Google Discover app on smartphones and as the Google Discover widget on your phone screen. Additionally, whenever you open a new tab in the Chrome browser, Google Discover appears at the bottom. Consequently, Android users can easily access it via their phone’s Google Discover settings.
Is Discover only for mobile? (Discover on Google Desktop)
Many bloggers wonder whether this feed can also be viewed on a computer. The answer is—yes! You can view it on a computer as well, because Google is now trialing Google Discover on desktop alongside the mobile version. This means that a user browsing on a laptop using Chrome might also see the Google Discover desktop layout.
Additionally, some users are also seeing this feature on Google Discover for Chromebooks. This essentially means that once a post secures a spot in the Google Discover feed, you start receiving a massive surge of traffic from both mobile and desktop platforms.
Google Discover SEO: My 3 Secret Settings
Follow the right approach to get your articles into Google Discover:
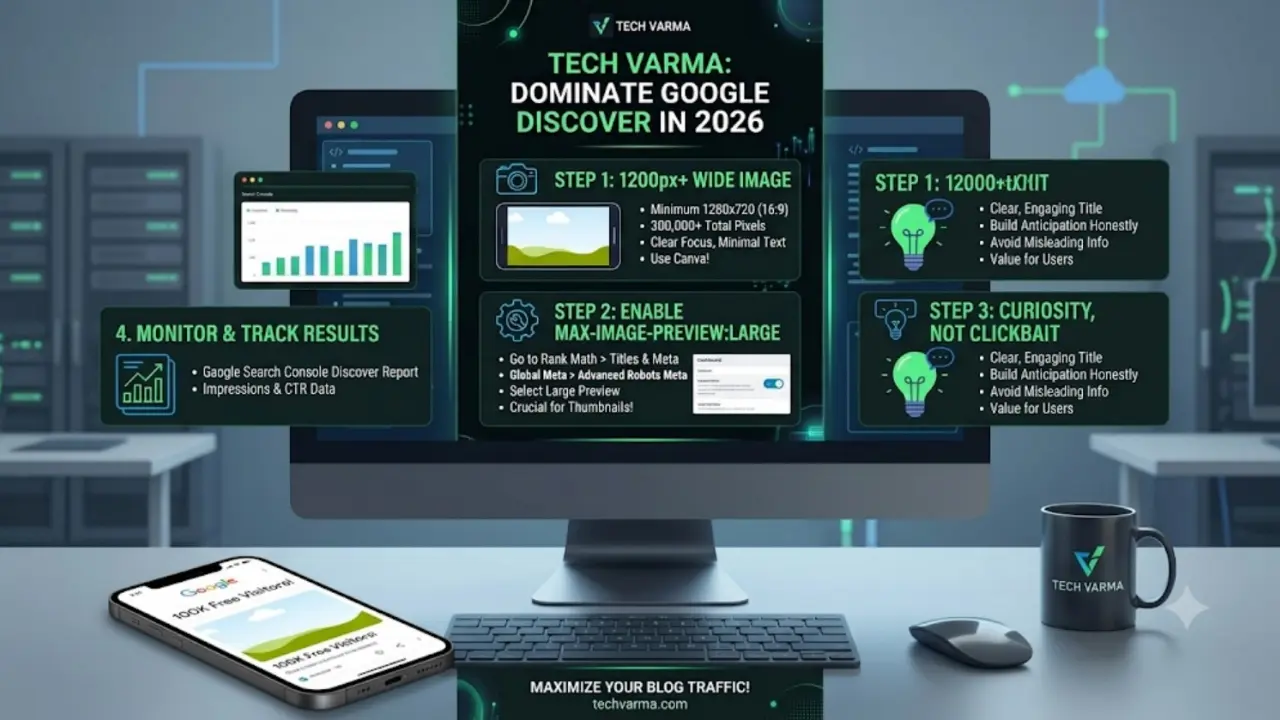
1. Images should be at least 1200 pixels wide, as Google’s Discover feed relies heavily on visually appealing graphics and photos. Therefore, you should always aim to ensure your photos are sharp and meet the 1200-pixel width requirement.
Since Google Discover’s guidelines require a minimum image width of 1200 pixels, your photo must be a high-resolution image with a total pixel count exceeding 300,000.
For example, your photo is a 1280×720 pixel image with a 16:9 aspect ratio, containing a total of 921,600 pixels. Therefore, it meets this specification.
Simply put, your image size should always be 1280×720 pixels, and you can use Canva to create a photo of this size.
Keep in mind that a photo intended for the Google Discover news feed should not contain excessive text, nor should it feature a large logo of your website.
2. The `max-image-preview:large` setting must be enabled on your WordPress or Blogger site, or AMP must be used.
This is a crucial step: if you are using Rank Math on your blog, navigate to **Rank Math > Titles & Meta > Global Meta** in your WordPress dashboard. There, locate the **Advanced Robots Meta** feature and select **Large** for the **Max Image Preview** option. Without this setting, Google will not be able to display your blog’s large images as thumbnails on Google Chrome Discover.
Also Read – How to Start Blogging – 7 Powerful Steps to Build a Successful Blog
3. Sparking curiosity while avoiding clickbait
Google Discover immediately blocks posts with false or misleading (clickbait) titles.
Your article should not be of this kind.
To attract users, do not exaggerate details—such as titles, snippets, or images—merely to generate clickbait; avoid overstating information or including misleading content. Always provide accurate information.
Choose a page title and headline that clearly indicate what the content is about.
Never resort to inappropriate methods to attract attention. For instance, do not post content that instills negative thoughts, involves sexual activity, or incites anger among people.
Your content should always align with the public’s interests—interests that are sparked when you present a topic effectively or share important information.
Always keep track of your performance.
Once your posts start running on Discover on Google, there’s no need for third-party tools to track them. You simply need to log in to Google Search Console, which is associated with your Discover on Google account. When you log in, you’ll see
In Google Search Console, a separate report for Google Discover appears on the left-hand side, right below the ‘Performance’ tab. Here, you can easily view your data—such as the number of impressions and the click-through rate (CTR)—for each post.
Conclusion
If you are searching for this tool on the internet using terms like “google com discover” or “google discover com,” understand that its guiding principle is providing an excellent user experience. Ensure your website loads quickly on mobile, create original content, and implement the necessary settings for the Google Discover feed—on both desktop and mobile—for your blog today.